Launch configuration
The IvyDE classpath container can also be used in the launch configuration, run or debug.
Default behavior
By default, the container will be used because it is included in the default classpath of you project. This is the configuration that you implicitly have when you do a "Run As..." on a Java class. The container you see in the launch classpath is the same as the one you have in your project in the package explorer.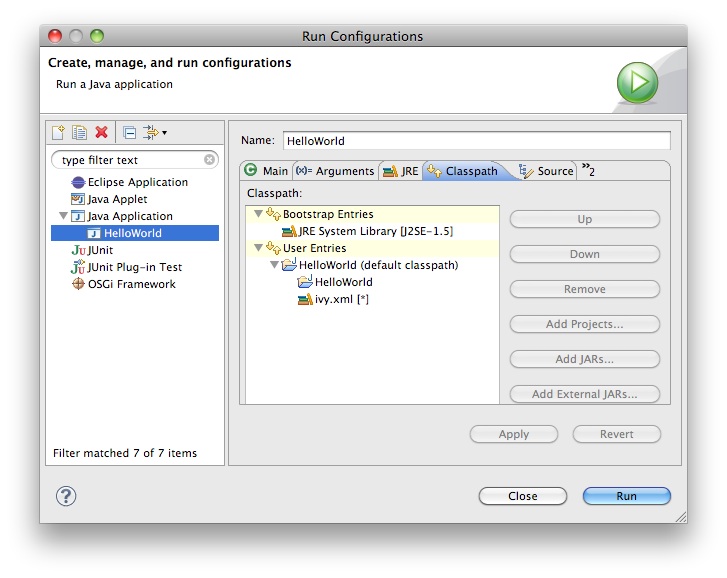
Managing the classpath manually
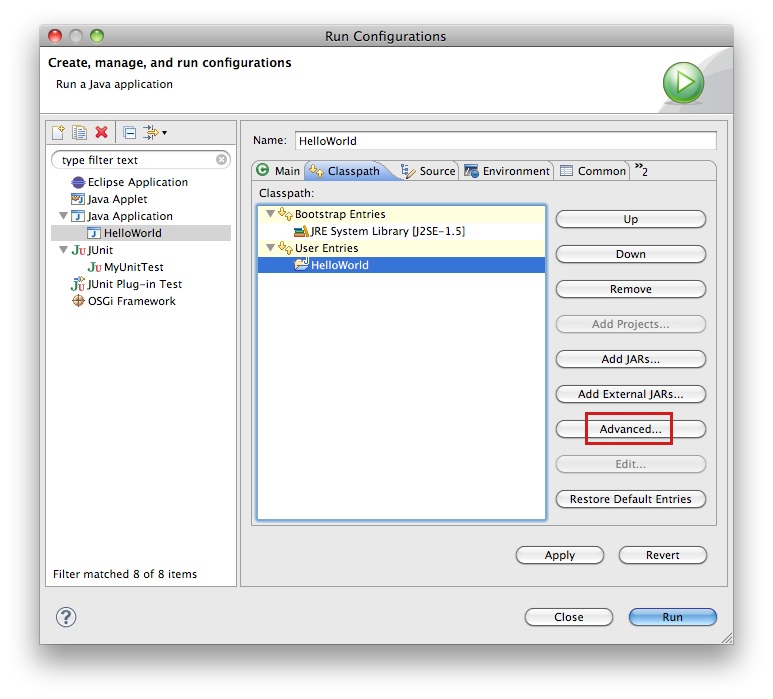
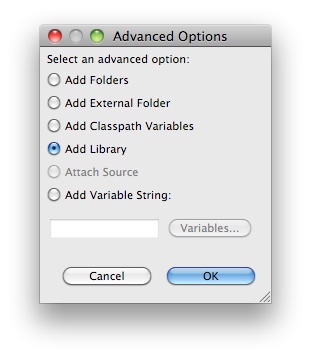
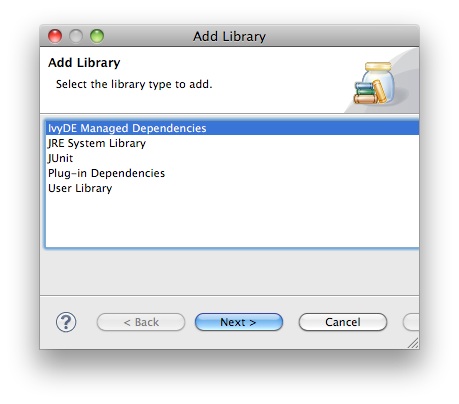
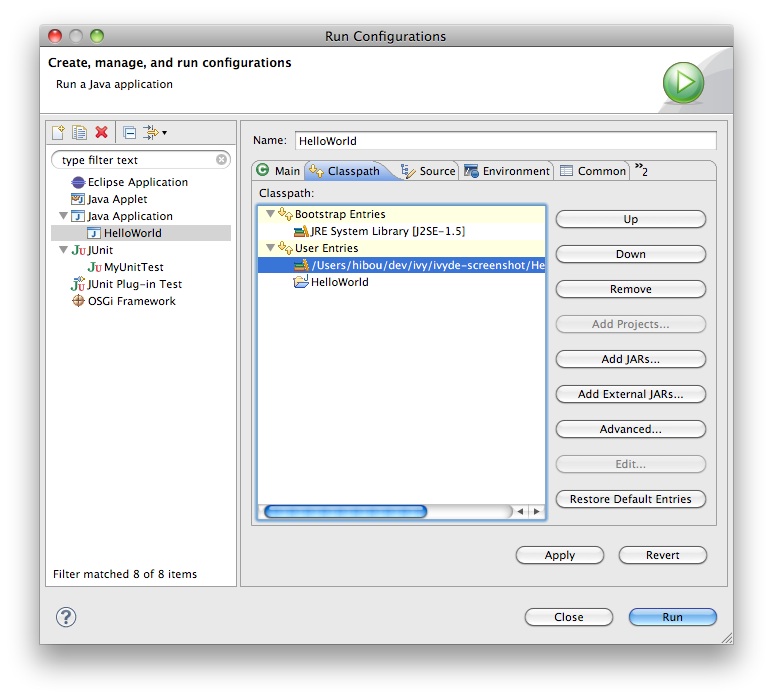
When you do need to have finer-grained control over which configurations are visible to the runtime classpath, it is possible to edit the runtime classpath manually.By creating a launch configuration, you will get the default classpath as described above. So the first step is to remove it. Most likely, you will want to re-add your project in the user entries. Then to add an IvyDE container, choose "Advanced":
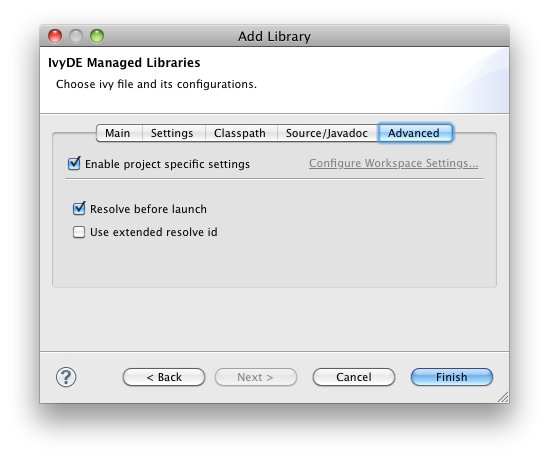
To enable the resolve before each launch, go into the "Advanced" tab and select "Resolve before launch".
Printer Friendly